
Getting Started with LumaBooth: A Beginner's Guide

The LumaBooth logo. (Photo courtesy of dslrbooth.com)
LumaBooth is a popular photobooth software that offers flexibility and ease of use, making it an excellent choice for both new and experienced photobooth operators. Whether you're starting your own photobooth business or planning an event, LumaBooth provides a comprehensive platform to create memorable experiences. Here's a beginner's guide to getting started with LumaBooth and maximizing its features.
1. Setting Up Your LumaBooth Account
Before diving into your first event, you'll need to set up a LumaBooth account. Download the LumaBooth app from the App Store on your iPad, and create an account using your email address. The app offers a user-friendly interface that allows you to navigate its features easily.

The LumaBooth GUI. (Image courtesy of dslrbooth.com.)
2. Choosing Your Equipment
While LumaBooth can work with various equipment setups, it's essential to choose the right tools to complement its capabilities. At a minimum, you'll need an iPad with the LumaBooth app, a high-quality printer for instant prints, and a sturdy stand to hold the iPad securely. Consider using additional lighting to ensure photos are well-lit and vibrant.
3. Customizing Your Photo Experience
One of the standout features of LumaBooth is its customization options. Start by selecting photo templates that suit your event's theme. You can personalize templates with custom text, colors, and graphics to make each photo unique. Additionally, LumaBooth allows you to add digital props and frames, enhancing the interactive experience for guests.
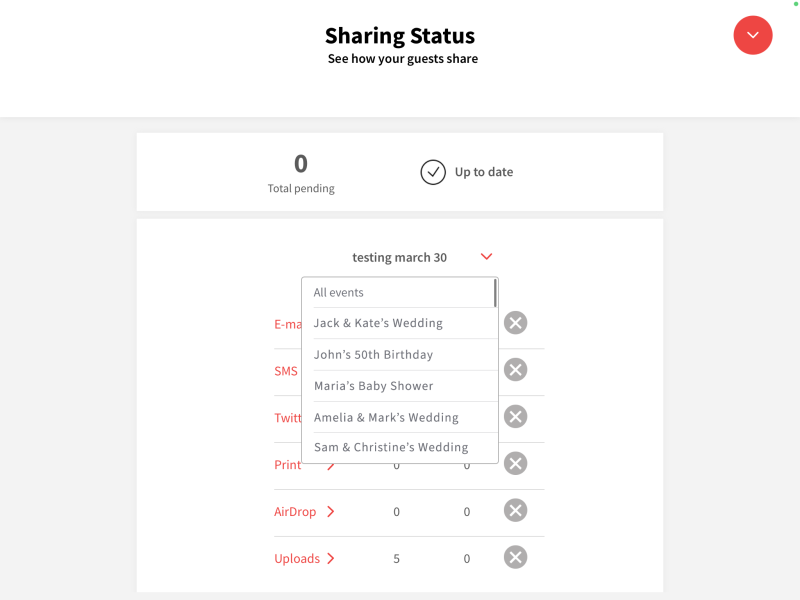
Another part of the LumaBooth GUI. (Image courtesy of dslrbooth.com.)
4. Setting Up Photo Sessions
LumaBooth makes it easy to set up photo sessions tailored to your event. Choose between single photos, photo strips, GIFs, or boomerangs to offer a variety of options for guests. Adjust settings such as countdown timers, print copies, and whether guests can share photos directly to social media or via email.
5. Integrating Social Sharing
Social media integration is pivotal for engaging guests and promoting your event. LumaBooth enables guests to share their photos instantly on platforms like Instagram, Facebook, and Twitter. Ensure your setup includes a reliable internet connection to facilitate seamless sharing.
6. Running a Test Session
Before the big event, run a test session to ensure all settings are configured correctly. Capture a few test photos to verify that the lighting, framing, and templates are functioning as expected. Address any technical issues or adjustments needed to guarantee a smooth experience for guests.
7. Offering a Seamless Guest Experience
During the event, ensure the photobooth is staffed with an attendant who can assist guests and troubleshoot any issues. LumaBooth's intuitive interface makes it easy for guests to navigate, but having support on hand adds a personal touch and ensures everyone enjoys the experience.
8. Reviewing and Saving Photos
After the event, access all captured photos through LumaBooth's gallery. You can download, share, and print additional copies as needed. This feature makes it easy to compile memories and provide guests with access to their photos even after the event concludes.
Elevate Your Photobooth Business with Vivid Curiosity Productions
At Vivid Curiosity Productions, we specialize in creating unforgettable photobooth experiences using cutting-edge software like LumaBooth. Our customizable photobooths are perfect for any occasion, providing entertainment and lasting memories for guests. Ready to elevate your event with a LumaBooth-powered photobooth? Contact us today to learn more about our services and how we can bring your vision to life.